
Every technician has heard that sickening whine of a gear pump running dry — the sound of metal grinding metal while a supervisor asks why the new pump is already failing. Priming is the simple, five-minute procedure that prevents it. Yet it remains the most skipped step on job sites and shop floors alike.
This guide walks you through priming a hydraulic gear pump the right way, whether you're commissioning a new install, restarting after a fluid change, or troubleshooting a stubborn no-flow condition.
Why Priming a Hydraulic Gear Pump Matters
Priming means displacing air from the pump housing and inlet line so the gears can actually move fluid instead of trying to compress air. Gear pumps are positive-displacement machines — they rely on a thin film of oil between the gear teeth and housing for both sealing and lubrication.
Skip the priming step and you're asking those precision-machined gears to run bone-dry against the housing walls. It's the number-one cause of early hydraulic pump failure in the field, and it's completely preventable.
The Real Cost of Running a Dry Gear Pump
The damage from a dry startup isn't always visible on day one — but it always shows up eventually. Here's what actually breaks, and how fast:
| Failure Mode | Root Cause | Typical Time to Failure |
|---|---|---|
| Gear scoring | Metal-on-metal contact, no lubrication | Seconds to minutes |
| Seal blowout | Pressure spikes from trapped air | Minutes to hours |
| Cavitation erosion | Air/vapor bubble collapse | Days to weeks |
| Bearing failure | Loss of hydrodynamic film | Hours to days |
When Priming Is Required
New pump installation or replacement
After a full fluid change or reservoir drain
Following long-term storage (typically 30+ days idle)
After filter, hose, or suction-line replacement
Any time the inlet side has been opened for service
When troubleshooting cavitation or low-pressure symptoms
Before You Start: Tools, Fluid, and Safety Checks
Gather everything before you open a single fitting. Half-finished priming jobs are how contamination gets in and how technicians get burned.
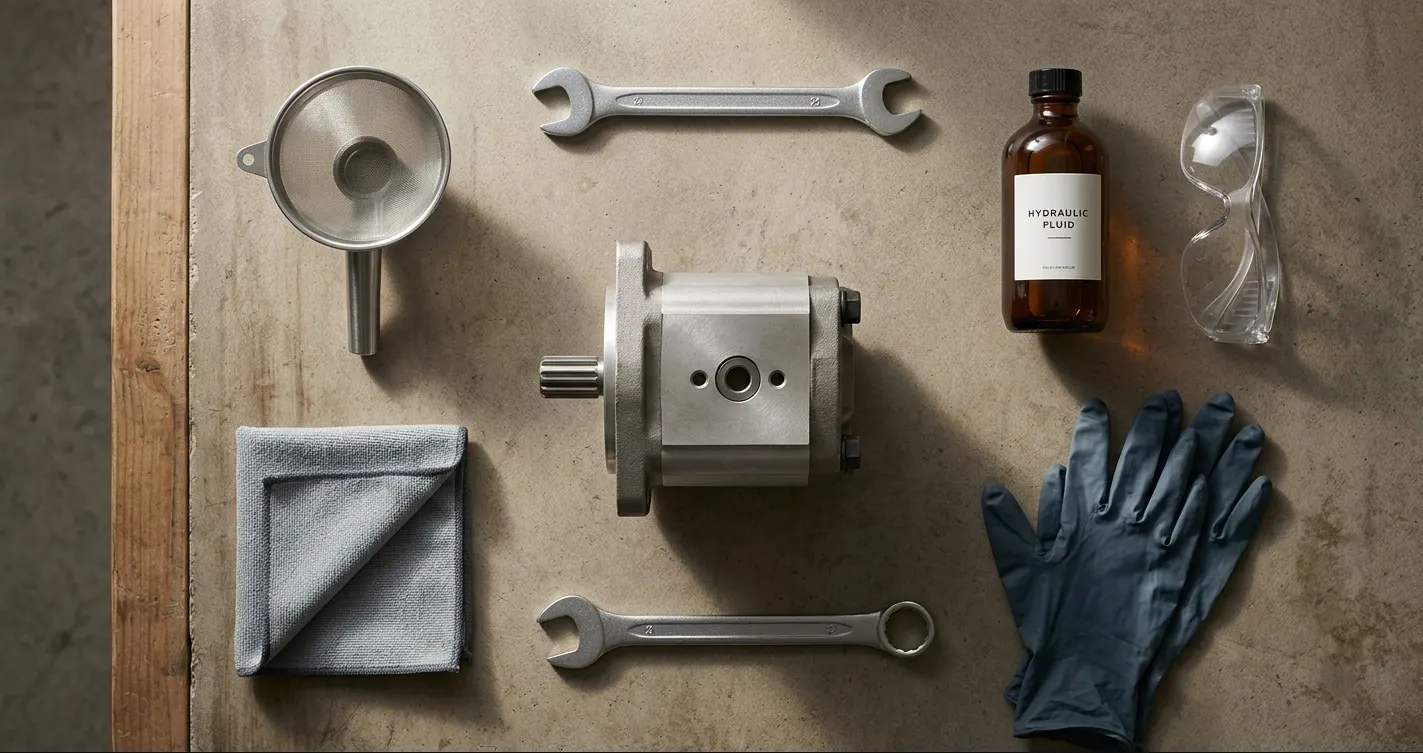
Tools and Materials Checklist
| Item | Purpose |
|---|---|
| Clean hydraulic fluid (matching OEM spec) | Filling reservoir and pump housing |
| Funnel with fine mesh screen | Preventing contamination during fill |
| Wrench set (metric/SAE) | Loosening bleed plugs and fittings |
| Clean lint-free rags | Wiping fittings and catching spills |
| Drip pan | Containing fluid during bleeding |
| Safety glasses and gloves | Personal protection |
| Pressure gauge (optional) | Verifying inlet vacuum after startup |
Safety Considerations
Lock out and tag out the power source before touching any fittings. If your system has accumulators, discharge them fully — trapped nitrogen and oil can release with enough force to injure.
Never crack a bleed screw on a pressurized system. And remember: hydraulic fluid above 60°C (140°F) can cause serious burns, so let a recently-run system cool before opening it up.
Verifying Fluid Compatibility and Cleanliness
Most gear pump systems need fluid at ISO 4406 18/16/13 cleanliness or better. That's not just a specification on paper — new fluid straight from the drum often exceeds those particle counts and needs to be filtered before it goes in.
Mixing fluid types is another common mistake. Combining mineral oil with a synthetic or a fire-resistant fluid can cause seal swelling, additive dropout, or sludge formation.
Step-by-Step: How to Prime a Hydraulic Gear Pump
This is the core hydraulic pump priming procedure. Work through each step in order — don't skip ahead even if the system "looks fine."
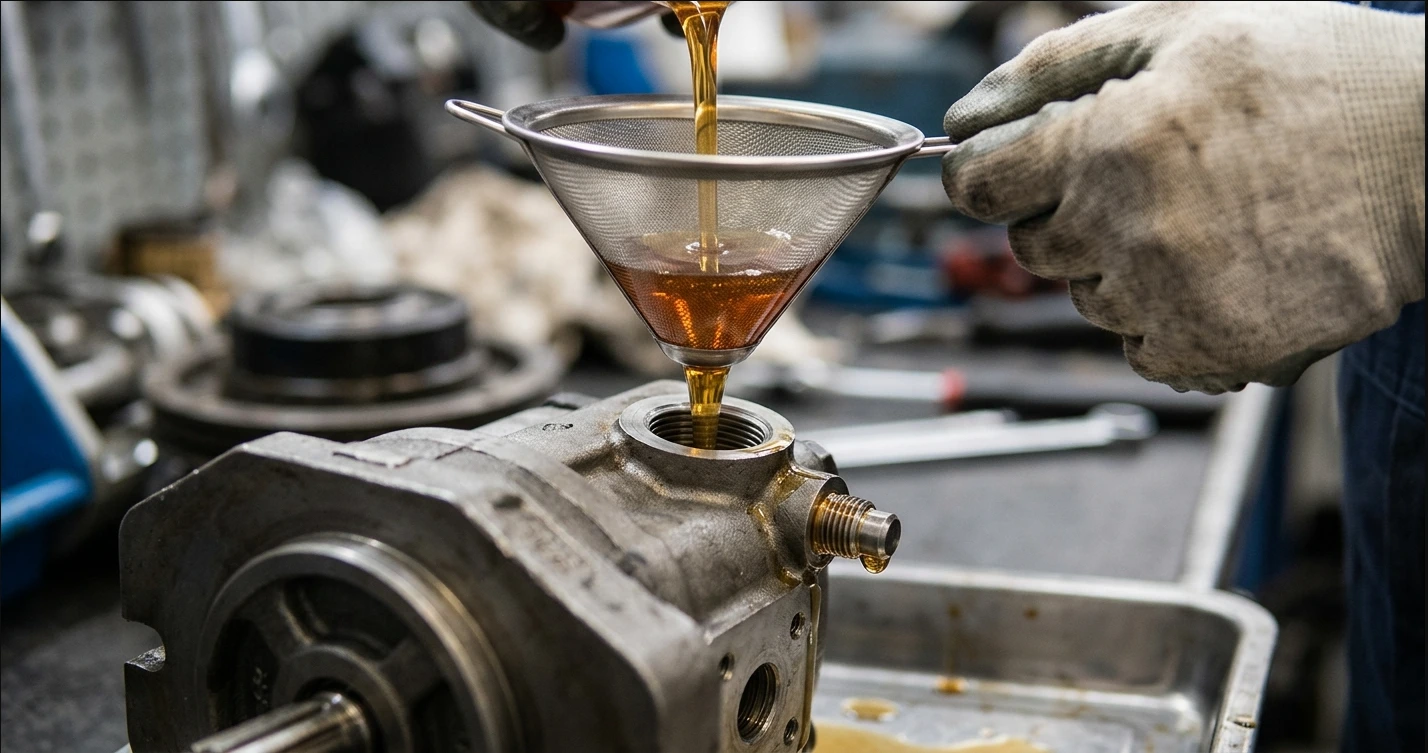
Step 1 — Inspect the Installation
Check shaft alignment between the motor and pump (misalignment kills bearings fast). Confirm the rotation arrow on the housing matches your motor direction. Verify inlet fittings are tight and the suction hose isn't kinked or collapsed.
Step 2 — Fill the Reservoir
Fill to the upper sight-glass line using a filter cart or a fine-mesh funnel. Pouring straight from a drum introduces particles that will chew up your new pump within hours.
Step 3 — Fill the Pump Housing
Loosen the uppermost port or bleed plug on the pump body and pour clean fluid directly into the housing until it overflows. This is the single most-skipped step in the entire process — and the single most important one for pump life.
Step 4 — Bleed the Suction Line
Crack the inlet fitting at the pump slightly and let fluid gravity-feed from the reservoir. You'll hear air hissing out first, then see steady fluid without bubbles. Retighten as soon as clean flow appears.
Step 5 — Jog the Motor
Bump the electric motor or engine starter for one to two seconds at a time. Three to five jogs is the maximum before you should stop and re-evaluate. Never run a dry pump continuously.
Step 6 — Start at Zero Pressure
Put the directional control valve in neutral or back off the main relief valve. Start the pump and let it run unloaded for 30 to 60 seconds so remaining air can migrate back to the reservoir.
Step 7 — Bleed Downstream Components
Crack fittings at cylinders, motors, and the highest points in the circuit to release trapped air. Work outward from the pump — bleeding air from a gear pump system is a sequential job, not a one-shot operation.
Step 8 — Verify Normal Operation
Look for stable outlet pressure, a smooth hum without rattles, and a steady reservoir level. Top up the reservoir after all air has purged — the level often drops noticeably as the system fully charges.
Priming Methods Compared
Not every installation calls for the same approach. Pump-to-reservoir geometry usually decides which method you use.
| Method | Best For | Difficulty | Time Required |
|---|---|---|---|
| Gravity fill (flooded suction) | Reservoir above pump | Easy | 5–10 min |
| Manual housing fill | Pump above reservoir | Moderate | 10–20 min |
| Vacuum-assisted priming | Long suction lines | Advanced | 20–30 min |
| Bypass loop priming | Closed-loop systems | Advanced | 15–25 min |
Flooded vs. Lift Suction Systems
A flooded-suction setup places the reservoir above the pump, letting gravity handle priming. A lift-suction installation forces the pump to pull fluid uphill — and gear pumps aren't great at that.
Keep lift height under 500 mm (about 20 inches) for standard gear pumps. Beyond that, you're inviting chronic cavitation no matter how carefully you prime the system.
Common Priming Problems and How to Fix Them
| Symptom | Likely Cause | Fix |
|---|---|---|
| Loud whining or knocking | Cavitation, air ingestion | Check suction fittings, refill housing |
| Pump runs but no pressure | Air locked in housing | Re-bleed at highest point |
| Foamy fluid in reservoir | Return line above fluid level, air leak | Extend return line, tighten fittings |
| Overheating within minutes | Internal recirculation, dry startup damage | Stop immediately, inspect gears |
| Erratic pressure gauge | Trapped air in system | Bleed downstream components |
When to Stop and Call for Help
If you smell burnt oil, see metallic particles in the reservoir, or find the pump case too hot to touch after a short run, stop immediately. Running a damaged pump turns a service call into a full replacement — often with contamination damage to valves and actuators downstream.
Preventing Cavitation After Priming
Priming solves the first-start problem. Keeping air out of the system over its full service life is a design and maintenance issue.
Suction Line Best Practices
Use suction piping one size larger than the pump inlet port
Avoid sharp elbows within 10 pipe diameters of the pump inlet
Keep the suction strainer clean — a clogged strainer is a stealth cavitation source
Use full-port ball valves, never gate or globe valves, on the suction side
Reservoir Design Tips
Baffles between the return and suction zones give air bubbles time to rise out of the fluid. The industry rule of thumb is a minimum dwell time of two to three times the pump's flow rate per minute.
Keep the return line submerged at least 100 mm below the minimum fluid level. A return line spitting oil into open air creates foam faster than any baffle can settle it.
Choosing the Right Gear Pump for Your Application
A pump properly matched to your flow, pressure, and viscosity range prevents chronic priming issues from ever appearing. Suction geometry, port orientation, and speed range all matter — and off-the-shelf pumps don't always fit real-world layouts.
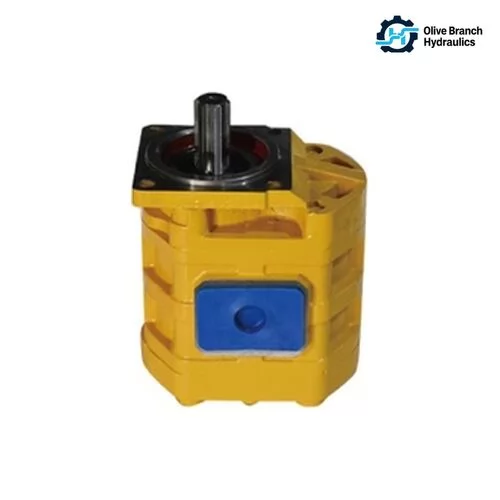
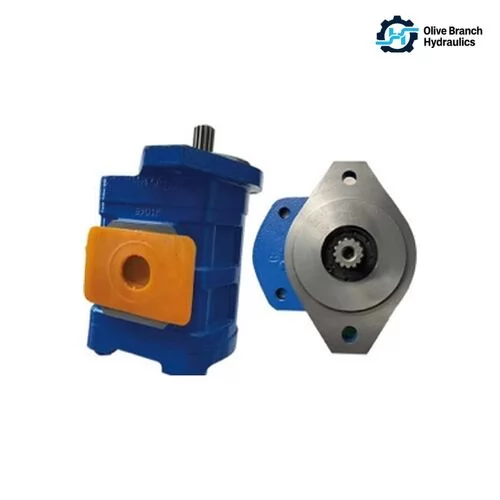
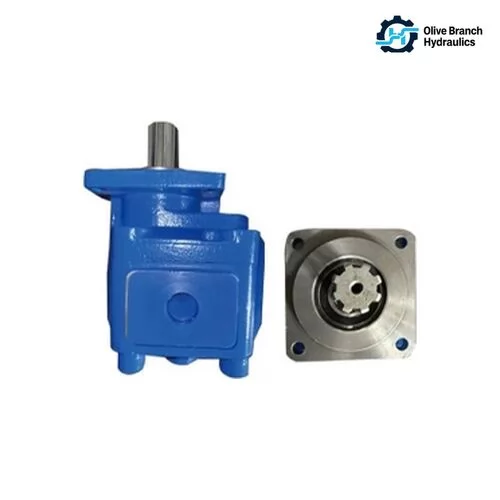
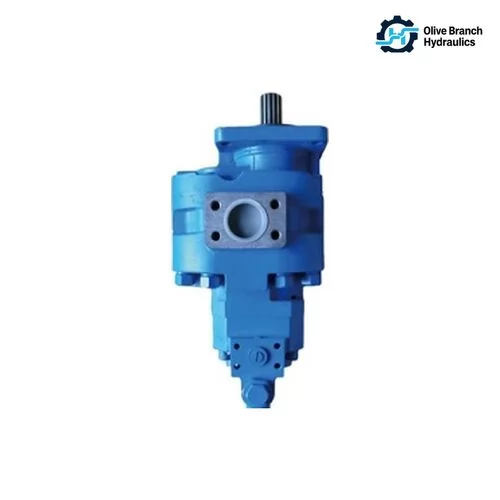
This is where working with a specialized hydraulic gear pump manufacturer pays off. Olive Branch Hydraulics, headquartered in the industrial zone of North Zhujiazhuang Village, Sujiazhuang Town, Ningjin County, Xingtai City — one of China's premier equipment manufacturing hubs — engineers non-standard gear pumps and fluid power systems for construction machinery, agricultural equipment, mining, special vehicles, industrial automation, and shipbuilding. When suction geometry, duty cycle, or space constraints make catalog pumps a poor fit, custom-engineered solutions eliminate priming headaches at the source rather than covering for them with field workarounds.
Maintenance Schedule to Keep Your Pump Primed
| Interval | Task |
|---|---|
| Daily | Check reservoir level and listen for cavitation noise |
| Weekly | Inspect suction fittings for leaks and hose condition |
| Monthly | Sample fluid for contamination and aeration |
| 500 hours | Replace suction strainer and inspect return line |
| Annually | Full fluid change and system flush |
Frequently Asked Questions
How long should it take to prime a hydraulic gear pump?
A properly designed system with flooded suction usually primes in under a minute. Lift-suction installations may take 5–10 minutes of careful jogging and bleeding before you see stable pressure.
Can I use the pump itself to draw fluid up into a dry housing?
No. Gear pumps are positive-displacement machines, but they aren't designed for dry self-priming. Even a few seconds of dry running causes measurable wear on the gear faces and shaft seal.
What kind of hydraulic fluid should I use for priming?
Always use the exact fluid specified for the system, filtered to ISO 4406 18/16/13 or cleaner. Mixing fluid types — even from reputable brands — can cause seal swelling, additive incompatibility, or sludge formation.
Why does my pump prime fine but lose prime overnight?
Almost always a suction-side air leak. A slightly loose fitting, a cracked suction hose, or a failing shaft seal won't leak oil out when the system runs — it draws air in when the system sits idle and gravity pulls the fluid back to the reservoir.
Do I need to re-prime after changing a filter?
Yes if the filter sits on the suction side — the housing needs to be topped off and the line bled again. Return-side and pressure-side filter changes usually don't require full re-priming, but bleeding the pump housing is cheap insurance either way.
Is priming different for external vs. internal gear pumps?
The core procedure is the same. Internal gear pumps (gerotors) are a bit more forgiving of brief dry starts thanks to their geometry, but external gear pumps demand strict priming discipline and will punish shortcuts fast.
Can I hear when a pump is properly primed?
Yes — a primed gear pump runs with a smooth, steady hum. Rattling, whining, or a sound like marbles in a can points to trapped air or active cavitation, and it needs immediate attention before the damage turns permanent.