
Few things will destroy a hydraulic pump faster than spinning it up dry. Yet it happens more often than you'd think — a technician swaps a component, tops off the reservoir, and hits the start button without a second thought. Minutes later, that expensive piston pump is screaming, cavitating, and well on its way to the scrap pile.
Priming is your insurance policy against that scenario. This guide walks you through the complete process, from preparation to final pressure check, so you can bring any hydraulic system online safely and confidently.
Why Priming a Hydraulic Pump Matters
In plain terms, priming means filling the pump housing and suction lines with hydraulic fluid before you ever turn the motor on. The goal is simple: eliminate every air pocket so the pump's internal components are lubricated and cooled from the very first revolution.
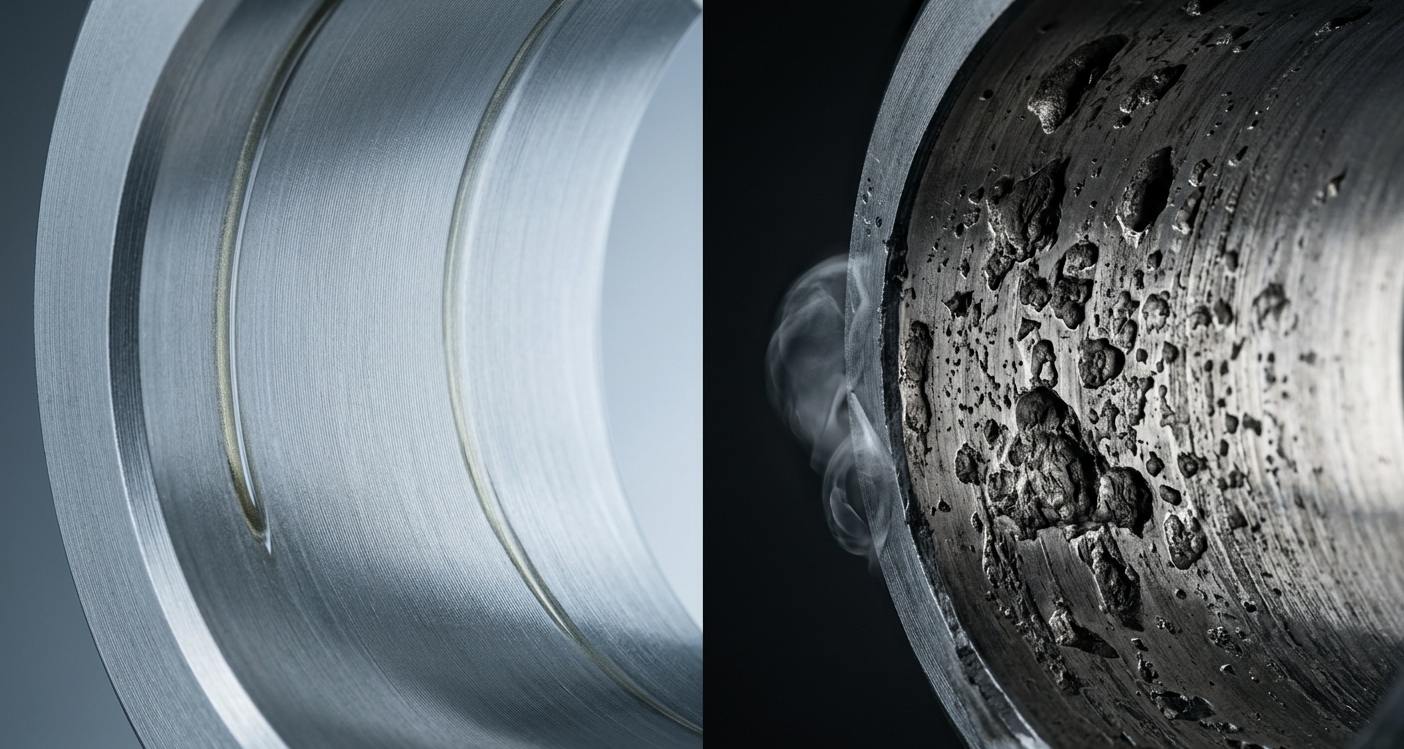
Skip this step and you're inviting metal-to-metal contact. Internal gears, vanes, or pistons rely on a thin film of pressurized fluid to separate moving surfaces. Without it, friction spikes immediately, temperatures soar, and scoring begins within seconds.
Hydraulic pump cavitation prevention is one of the primary reasons priming exists. When a pump tries to move air instead of fluid, vapor bubbles form and collapse violently against internal surfaces. The result is pitting, erosion, and a dramatically shortened pump life. Industry data consistently shows that improper startup accounts for a significant portion of premature hydraulic pump failures — and those replacements aren't cheap, often running thousands of dollars plus downtime costs.
How Air Gets Trapped in a Hydraulic Circuit
Understanding where air enters the system helps you decide when priming or re-priming is necessary. Here are the most common culprits.
New Installation or Component Replacement
Every fresh hose, fitting, valve, and pump housing arrives full of air. Even a short section of replaced tubing introduces enough air to starve a pump inlet during startup. If you've broken any connection in the circuit, assume air is present.
Low Reservoir Fluid Levels
When the fluid level drops below the suction line inlet, the pump draws air instead of oil. This can happen gradually through minor leaks or sudden fluid loss from a blown hose. Either way, the suction side of the circuit is now compromised.
Maintenance and Filter Changes
Routine service often breaks the fluid seal without anyone thinking twice about it. Swapping a suction strainer, replacing a return filter, or disconnecting a pressure line — all of these create entry points for air. It's one of the most overlooked causes of startup problems.
Prolonged System Downtime
Machines that sit idle for weeks or months experience fluid drain-back. Gravity pulls oil out of elevated lines and into the reservoir. Seals that stay dry for extended periods can shrink slightly too, allowing air ingress when the system restarts.
Tools and Materials You'll Need Before Priming
Gather everything before you start. Chasing down a wrench mid-procedure means leaving fittings open and inviting contamination into the system.
- Correct hydraulic fluid — match the type and viscosity specified in the OEM manual (ISO grade, zinc-free, etc.)
- Clean containers and funnels — contamination is the enemy; never pour from a dirty bucket
- Wrenches for bleed fittings — typically 7/16" to 3/4" depending on the system
- Pressure gauge — to verify stable system pressure after priming
- Hand pump or fluid transfer pump — for pre-filling the pump housing
- Personal protective equipment — safety glasses, nitrile gloves, and long sleeves at minimum
- Manufacturer's service manual — for pump-specific priming instructions and torque specs
- Absorbent pads or rags — fluid will spill during bleeding; contain it
Step-by-Step Hydraulic Pump Priming Procedure
This hydraulic pump startup procedure applies broadly across most systems. Always defer to your manufacturer's documentation when it conflicts with general guidance.
Step 1 — Inspect and Prepare the System
Start with a visual inspection. Check the reservoir fluid level — it should sit at the upper sight-glass mark. Inspect all hose connections for tightness, look for cracked fittings, and confirm that suction-side shutoff valves are fully open.
Verify filter condition. A clogged suction strainer restricts flow and mimics the symptoms of trapped air. Replace any filter elements past their service interval. Confirm all directional control valves are in neutral or their designated startup position.
Step 2 — Fill the Pump Housing With Fluid
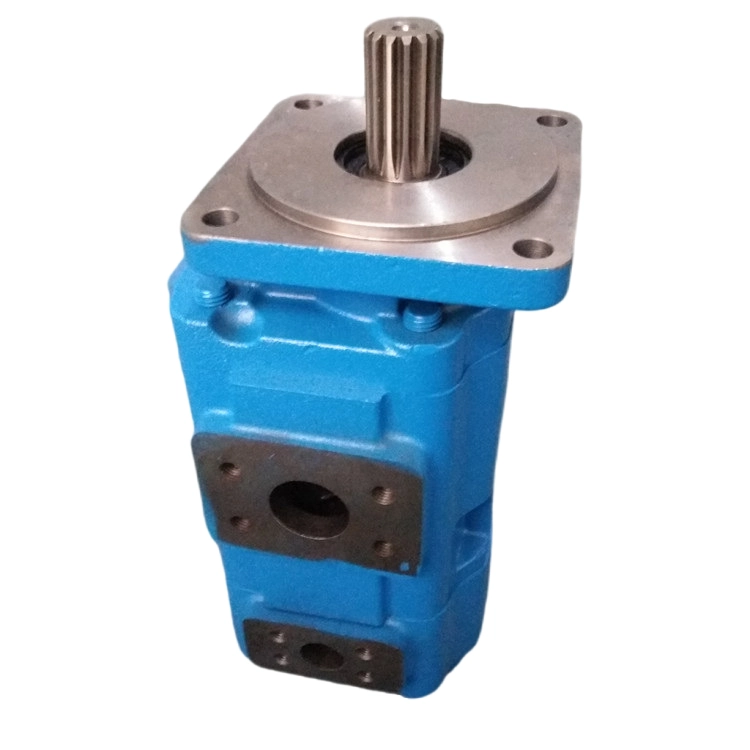
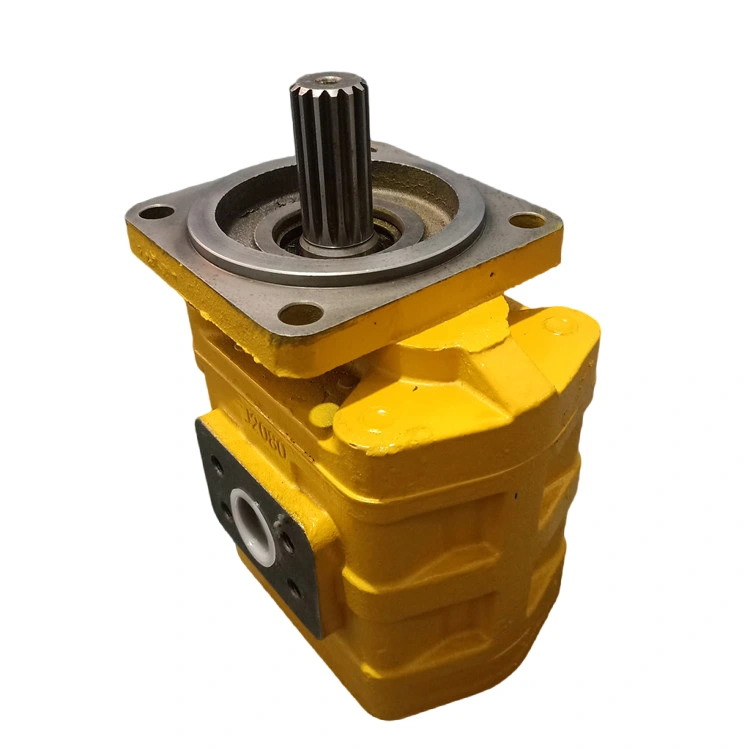
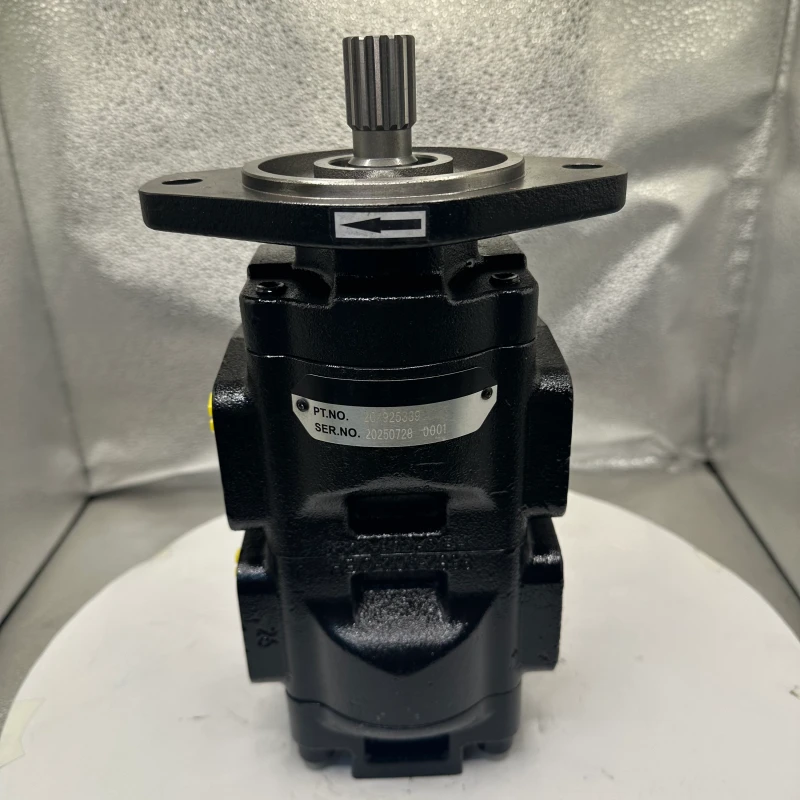
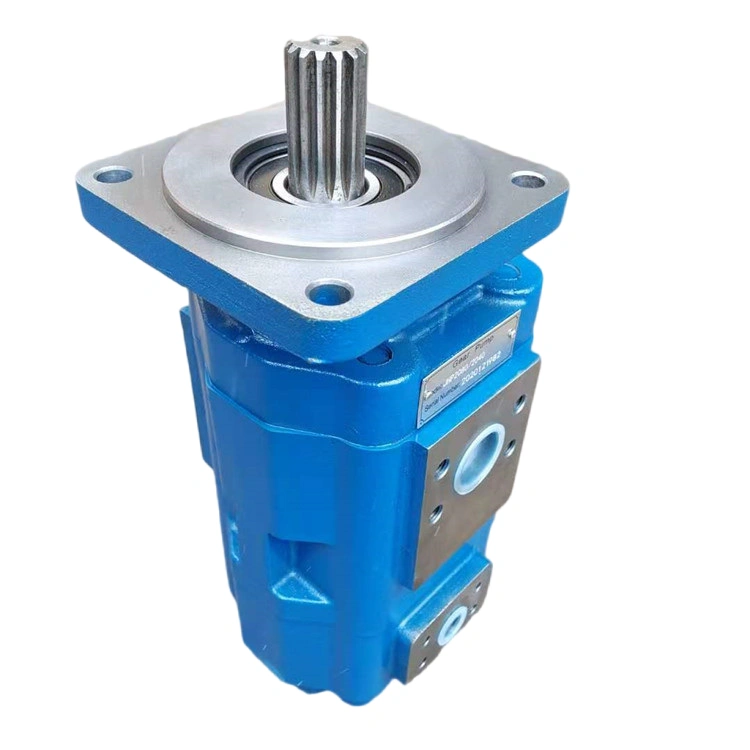
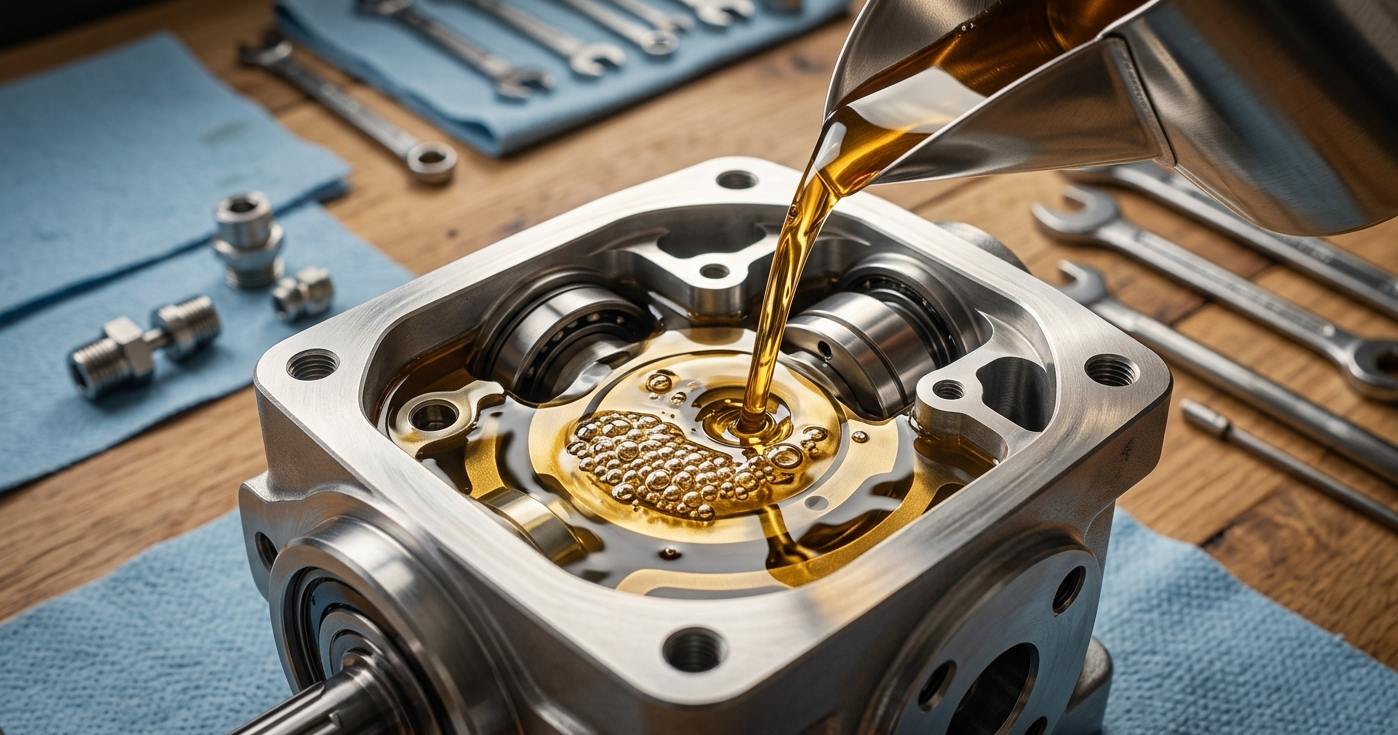
Locate the case drain port or fill plug on top of the pump housing. Remove it and gravity-fill the housing with clean hydraulic fluid until oil reaches the port level. On larger pumps, use a hand pump to push fluid in more quickly.
This step is non-negotiable. The pump should never spin dry — not even for a fraction of a second. Priming hydraulic fluid into the housing ensures that bearings, gears, or pistons have immediate lubrication on first rotation. Reinstall the plug or reconnect the case drain line once the housing is full.
Step 3 — Bleed the Suction Line
Loosen the fitting at the pump inlet — just enough to let air escape, not enough to create a flood. You'll see air bubbles push out ahead of the fluid. This air removal hydraulic circuit technique ensures the suction line delivers solid fluid to the pump from the moment it starts.
Wait until you see a steady, bubble-free stream of oil weeping from the fitting. Then snug it back up to the correct torque. On long suction runs or systems with vertical lifts, this step may take a few minutes as fluid displaces trapped air pockets along the route.
Step 4 — Jog the Motor in Short Bursts
Now you're ready to energize the prime mover — but gently. Jog the motor for one to two seconds, then stop. Listen carefully. A properly priming pump produces a smooth, low hum. A whining or chattering sound means air is still present.
Repeat the jog cycle three to five times with 10-second pauses between each burst. The pauses let fluid fill any remaining voids. With each cycle, the pump tone should stabilize and quieten. If noise persists after five or six attempts, stop and re-check your suction line connections and reservoir level.
Step 5 — Bleed Downstream Components
The pump is primed, but the rest of the circuit likely still holds trapped air. Open bleed screws on cylinders, motors, and control valves — working from the component closest to the pump outward to the farthest point in the system.
Crack each bleed fitting while the pump runs at low pressure. Once solid fluid flows without bubbles, close the fitting and move to the next component. This hydraulic system bleeding process ensures smooth, predictable actuator movement once you bring the machine into service. Skipping it often results in jerky cylinder motion or spongy controls.
Step 6 — Bring System to Full Operating Pressure Gradually
With all air purged, increase the load incrementally. If your system has an adjustable relief valve or load-sense control, bring pressure up in 25% increments, pausing at each stage to monitor the pressure gauge for stable, consistent readings.
Check every connection point for leaks during this ramp-up. Fittings that sealed fine at low pressure can weep under full system load. Once you're at normal operating pressure with no leaks, no noise, and steady gauge readings, the priming process is complete.
Priming Methods for Different Pump Types
Not every pump behaves the same during startup. Here's what to expect across the three most common designs.
Gear Pumps
Gear pumps are the most forgiving. They're generally self-priming once the housing is pre-filled, thanks to tight gear-to-housing clearances that move fluid efficiently even at low speeds. Your main focus should be suction line integrity — any air leak on the inlet side will defeat even a well-primed gear pump.
Vane Pumps
Vane pumps are more sensitive to air because the vanes need fluid pressure to seat properly against the cam ring. Extended jogging cycles are often necessary — sometimes eight to ten bursts before the pump fully catches. Be patient and don't force it to full speed early.
Piston Pumps (Axial and Radial)
Piston pumps carry the highest risk of damage from a dry start. The close-tolerance pistons and valve plates depend entirely on that fluid film. Case drain pre-fill is absolutely critical here — these pumps cannot tolerate even brief dry running.
Many manufacturers publish pump-specific startup procedures for their piston units. Follow them to the letter. Some require the case drain line to be elevated above the pump to maintain a fluid head, while others specify minimum inlet pressure during initial startup.
Common Priming Mistakes and How to Avoid Them
Even experienced technicians trip up on these. A quick mental checklist before startup saves headaches.
- Running the pump at full speed too early — always jog first; full RPM with residual air causes instant cavitation damage
- Using contaminated fluid or wrong viscosity — dirty oil introduces particles that score pump surfaces; wrong viscosity starves tight clearances
- Ignoring case drain line requirements — piston pumps need a flooded case; a dry or restricted case drain line leads to seal blowout
- Failing to re-check after initial warm-up — thermal expansion can loosen fittings and release dissolved air as fluid heats up
- Skipping downstream bleeding — a primed pump feeding air-locked cylinders still produces erratic, unsafe operation
Signs Your Hydraulic Pump Was Not Properly Primed
Caught one of these symptoms? It's not too late — shut down immediately and re-prime.
- Excessive noise — a high-pitched whine or metallic knocking indicates cavitation or dry metal contact
- Erratic actuator movement — cylinders lunging or drifting signals air pockets compressing unpredictably in the circuit
- Foamy or milky fluid — check the reservoir sight glass; aerated oil looks cloudy and may foam on the surface
- Higher-than-normal operating temperature — air compression generates heat without doing useful work, raising bulk fluid temperature
- Fluctuating pressure gauge readings — steady operations show a rock-solid gauge needle; bouncing readings mean air is still cycling through
Frequently Asked Questions (FAQ)
Can a hydraulic pump prime itself?
Some can — gear pumps and certain vane pump designs are considered self-priming once the housing contains fluid. However, piston pumps (both axial and radial) are not self-priming and will suffer damage if started without manual pre-fill. Even with self-priming designs, manually filling the housing and bleeding the suction line significantly reduces startup stress and extends pump life.
How long does it take to prime a hydraulic pump?
For a small, simple system with short lines, you can complete the full priming process in five to ten minutes. Larger systems with long suction runs, multiple actuators, and piston pumps may take 20 to 30 minutes when you include downstream bleeding. Rushing the process to save time almost always costs more time in rework or repairs.
What happens if you run a hydraulic pump without priming?
The internal components experience immediate metal-on-metal contact without the protective fluid film. Cavitation begins within seconds, pitting internal surfaces. Temperatures spike from friction, potentially damaging seals and warping close-tolerance components. In severe cases, a piston pump can seize catastrophically in under 30 seconds of dry operation — turning a simple oversight into a multi-thousand-dollar replacement.
How often should you re-prime a hydraulic system?
Re-priming is necessary after every major service event: pump replacement, hose repair, cylinder rebuild, or extended shutdown lasting several weeks or more. During normal daily operation, a healthy system with good seals retains its prime indefinitely. Think of it as an event-driven procedure, not a scheduled maintenance task.
Is hydraulic system bleeding the same as priming?
They're related but not identical. Priming specifically refers to filling the pump housing and suction line with fluid so the pump can function. Bleeding refers to removing residual air from the entire downstream circuit — cylinders, motors, valves, and return lines. A complete hydraulic pump startup procedure includes both: prime the pump first, then bleed the circuit afterward. One without the other leaves you with problems.
What fluid level should the reservoir be at before priming?
Fill the reservoir to the upper sight-glass mark before you begin. This ensures adequate suction head — the static pressure that helps push fluid toward the pump inlet. Starting with a low reservoir risks drawing air into the suction line during the jogging phase, which defeats the entire purpose of priming. After bleeding is complete and all cylinders are retracted, recheck the level and top off as needed.